I have always wanted to turn Matt's old baseball, basketball, and football T-shirts into a quilt..I found this on Pinterest.com. It is from Cinnaberry Suite blogspot. Looks simple (hmm, yea right).
What you need:
This is a fancy Fiskars rotary cutter. .
If you don't have one, grab them scissors, you'll need them too!

Here's a full picture of the cutter.
You will also need a mat to cut on top of if your using one of these.

You'll need some flannel or "warm and cozy" fabric.
We are using this as a batting.
I used an old flannel sheet.

Old T-shirts

And obviously a sewing machine and pins.
How to make the quilt:
- first: cut your shirts into squares. I cut mine into an 11in x12in square.
Just cause.
{Below is a picture of my template}
You make yours however big or small you'd like!

So, decide how big you want your quilt to be and
how many squares you will need to make it that big.
I know,
way too much Math!
Cut, cut
away your little squares until you have the amount you need.
Remember, watch out for those fingers!

As you can see, I cut right through both sides of the shirt,
all at once.
You will end up with two squares.
A front and a back.
Just make sure your template is lined up with whatever logo
or picture you are trying to cut out.

I also used their old polo shirts from school.
They are way too old to give away, but I hate to throw them away.
Here's to a new life little shirt!

Here they are all cut and fabulous...

- Second: Cut out your flannel. Use the same template you used to cut out your shirts. You need one piece for every set of squares you have. It will be sandwiched between each front and back piece

- Third: Make your TS & F sandwich.
{T-shirt and flannel sandwich! yum!}
Pin them together. Please take note: My pins are going the wrong way.
Turn yours in, or your sewing machine will eat them!
FO REALZ!!

- Fourth: It's time to sew. Each sandwich will get a big X sewn through the middle of it. Just start at one corner and sew down to the other.
I have one line down in the picture below.

{My girlie sat at the table and talked to me as she played with her playdoh and I sewed away.
Making memories :) }

- Fifth: lay them out in the order you want them to go.
Pin them together. With a small seam allowance on top with the right sides up.
Hope that makes sense!
Just look at the picture.
Pin it like this.
Make sure you have all your sandwich layers in there.

- Sixth: Sew your squares together. This time you will have to pay attention so all your seams are the same. I don't know exactly how far in I sewed them together. Just eyeball it. Make sure you have enough to cut little slits into later. I lined my edge up with this piece of tape on my sewing machine. I knew as long as my edge was lined up to it I was going pretty straight.

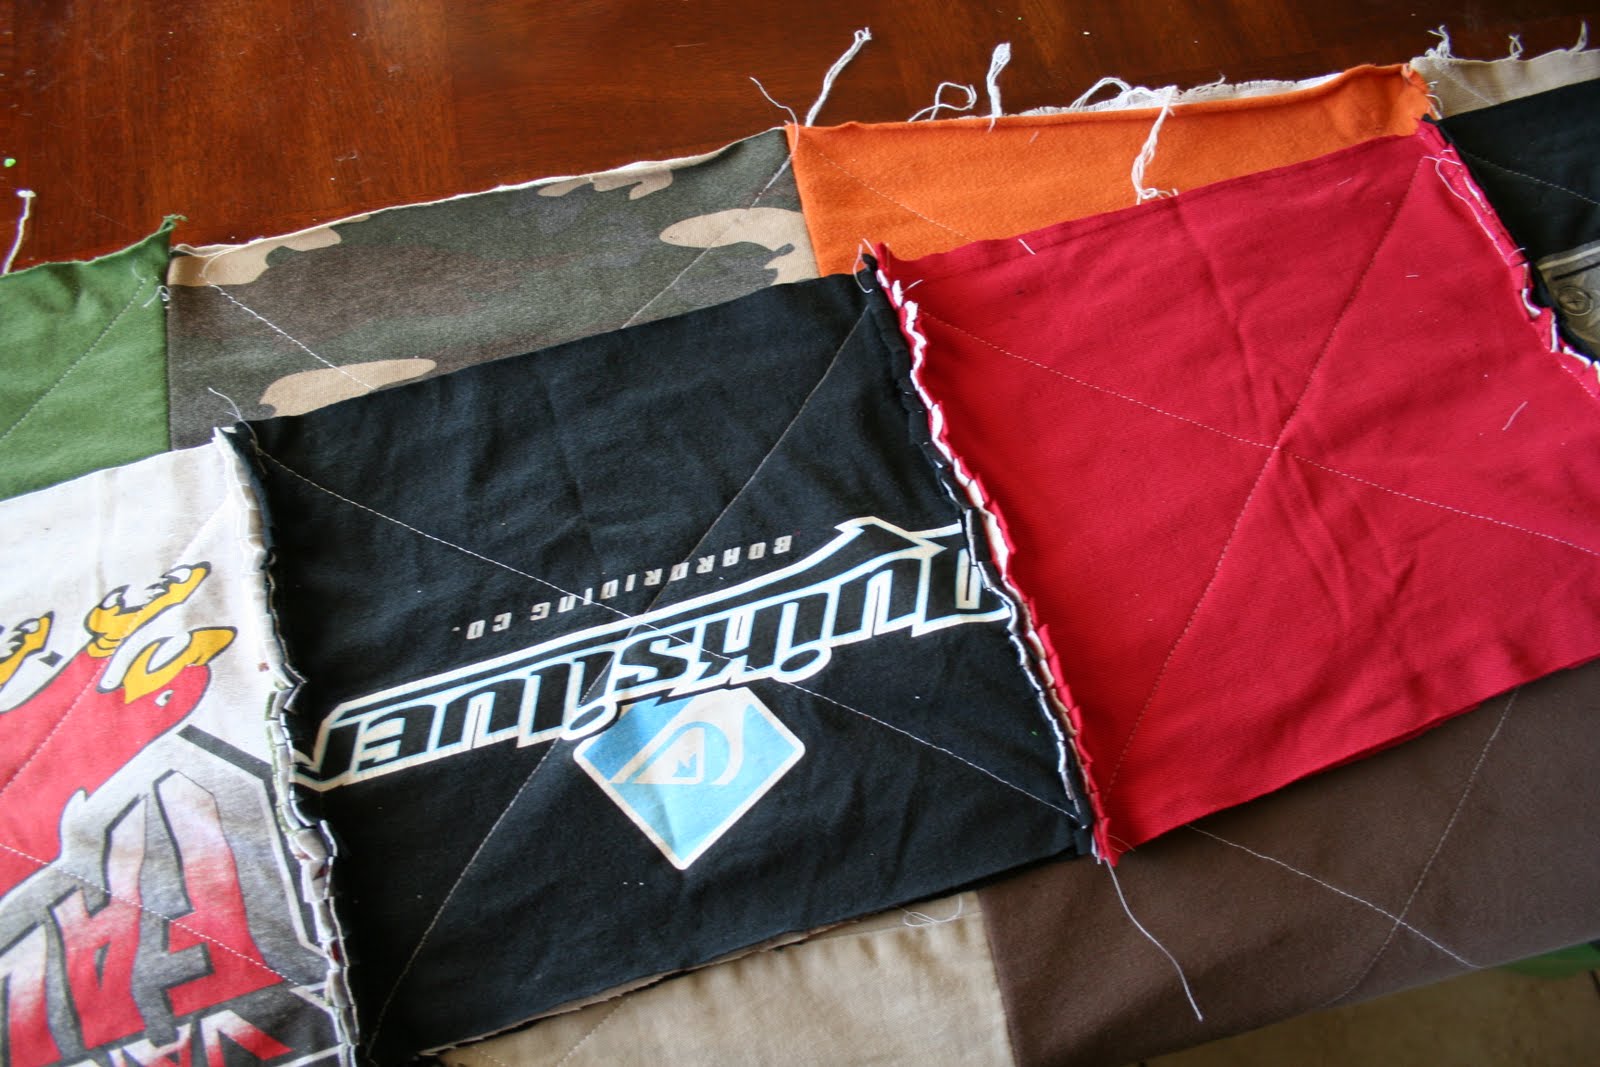
Here they are all sewn together!
I did 6 squares for each row.

- seventh: MAN! This is one LOOOONNGG tuttie!
PEEEUUUWW!
Cut your strings and then get to cutting the little slits along the seam. DO NOT cut all the way through the seam you sewed. You'll have a huge hole in your purdy quilt.


- eighth: Sew the rows together. Repeat, until they are all sewn into one big fabulousness!
Line the rows up square to square and pin them just like you did to the squares with a small seam allowance.
Oh and don't forget, Snip, snip all along that seam too!

Sew a small seam all the way around the edge of the quilt.
Then, you will snip around those edges to.
You will hate your scissors after this one!
Make sure your scissors are sharp. Otherwise, one word,
Blisters!
Don't forget to throw it into the wash so all the snips can fray.
Here is our new row added to the rest of it's t-shirt friends.
Don't they look so happy together?!

I'm going to continue adding to the quilt I already made.
I will keep adding rows until it's big enough to cover the whole bed!
Almost there!

Happy safe sewing! :)
No comments:
Post a Comment