
Hey, Mimi's, GiGi's, granny's, Memma's and all of you crafy people out there. I actually attempted to make one of these for my granddaughter. They are really neat. However, mine did not turn out quite this pretty. But, this is a neat thing to try. Another thing that I did with Taylor, is that we pieced a quilt together. She picked out the blocks and we sewed them together (she sat in my lap at the machine). And, we then took strips and put all of the blocks together. Her Mom, then took it and had it quilted. Lots of things you can do with your kiddies.
You need for the cray holder
15 X 16 1/2 inch piece of fabric for the outside
1 - 5 X 16 1/2 inch piece of fabric the the inside
1 - 6 X 16 1/2 inch piece of fabric folded lenghtwise and pressed for the pocket
ric rac (if desired)
1 - 5 X 16 1/2 piece of iron on vinyl
1 Cord Stop
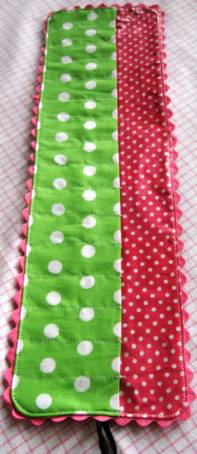
Iron on the vinyl to the right side of your lining piece following package directions.
Place pocket piece ontop of right side of lining. Starting 1 1/4 inches over from the edge, stitch from top of pocket (back stitch at top) to bottom. Then stitch every 1 inch. You should have 1 1/4 inches left on the other end.
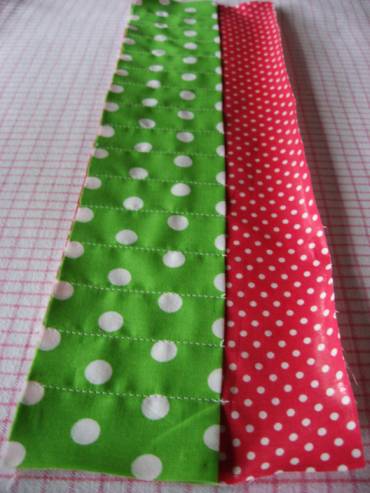
If using ric rac pin it around the edges, overlap at bottom. I use fray check to keep ends from unraveling.
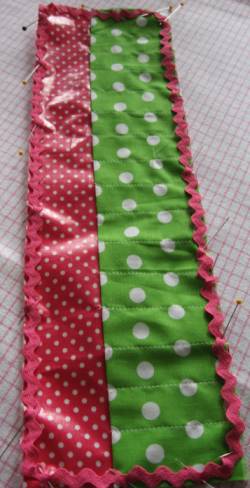
Place outside piece ontop of pocket and lining, right sides together. Place a 20" piece of cord (folded in half) in the middle on the right side. Ends of cord go towards the center.
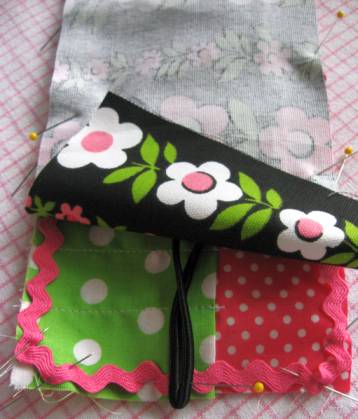
Sew all the way around 1/4 inch from the edge. Leave a 2-3 inch opening at the TOP.
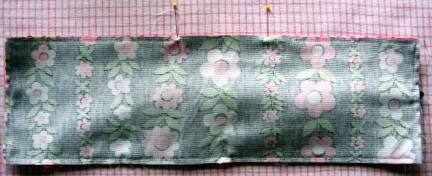
Clip corners and turn. Press (don't press vinyl with bare hot iron), making sure to press opening to the inside. Pin opening shut and then top stitch all the way around very close to the edge (making sure you sew all layers of the opening shut.)
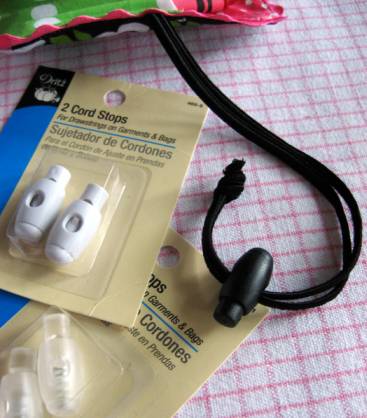
Squeeze the Cord Stop and thread both ends of the cording through the center hole (have patience, thread ends one at a time). Tie the ends of the cording together into a knot. I placed a drop of glue in the knot to keep it secure and then put fray check on the ends.
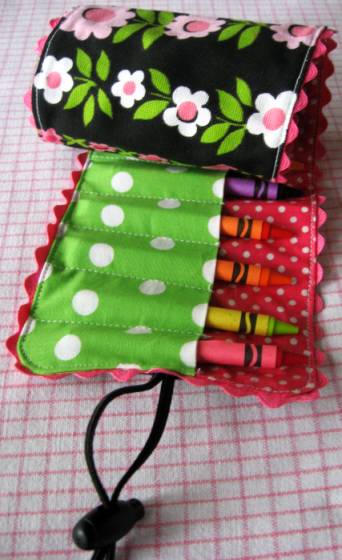
Finished!
No comments:
Post a Comment